Network Configuration
The Network page in the DFX Dashboard allows you to view and edit the global networks.json file, which defines the networks available for your DFX projects.
Overview
The Network page displays:
- The contents of your global
networks.jsonfile - An editor for modifying network configurations
TIP
Familiarize yourself with the structure of the networks.json file. Understanding this configuration will help you manage your DFX networks more effectively.
Understanding networks.json
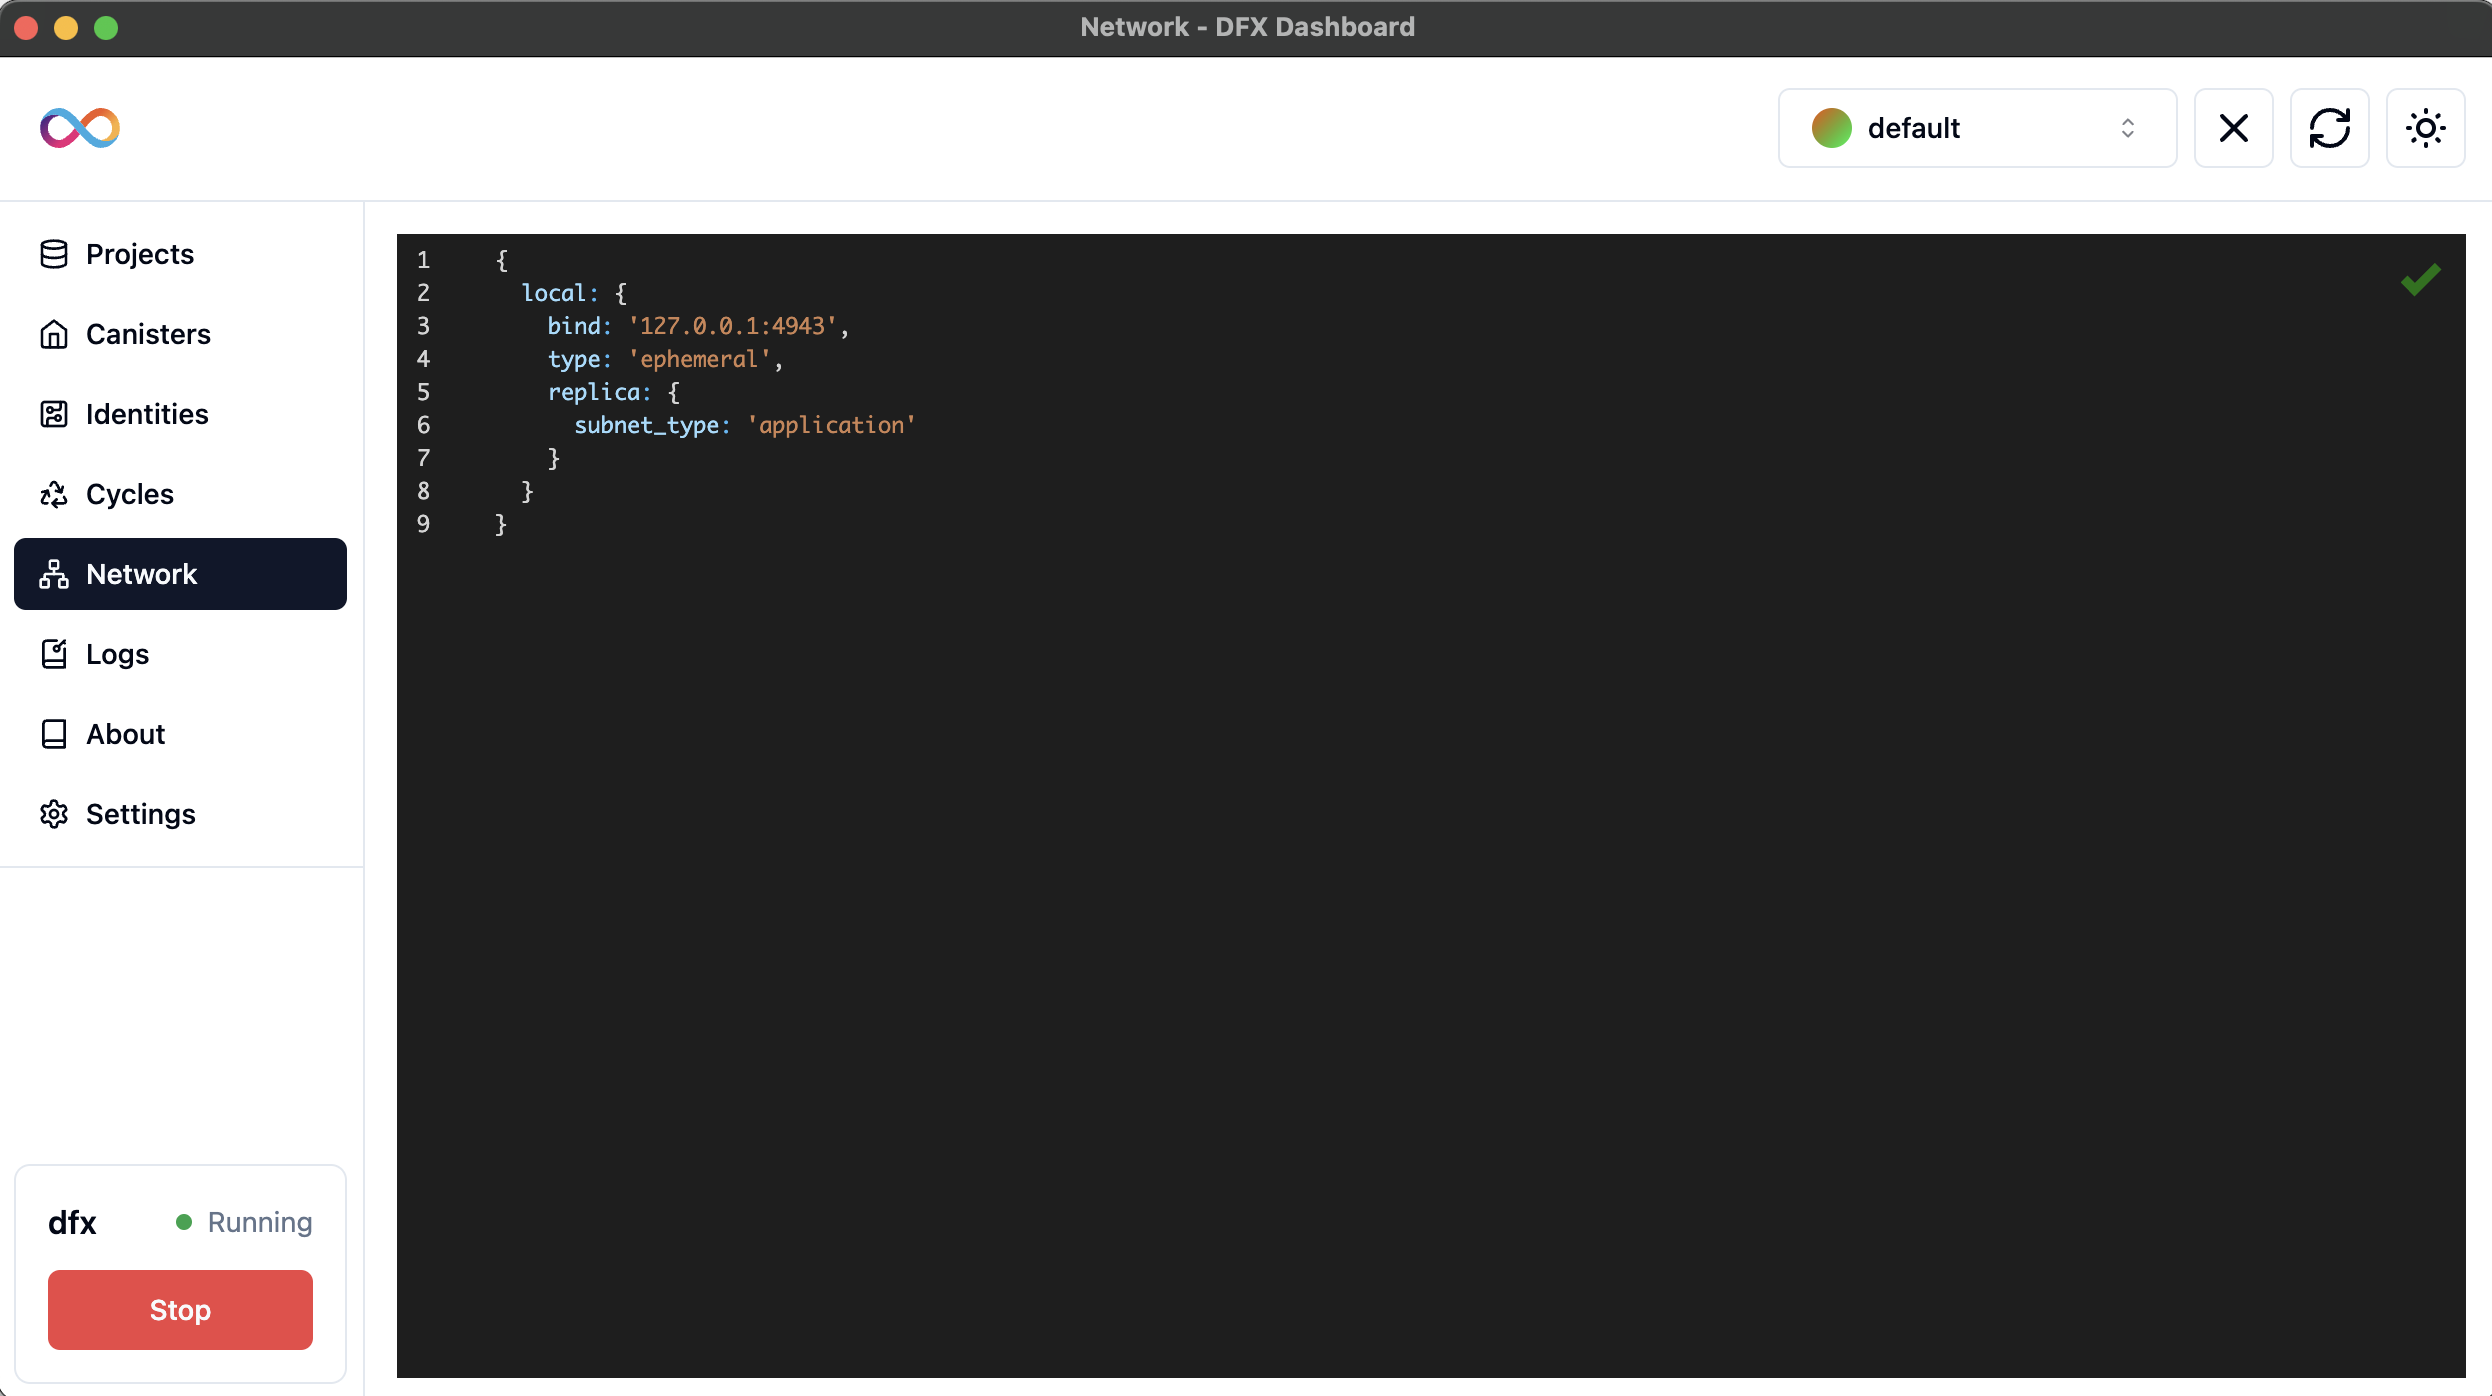
The networks.json file is a crucial configuration file that defines the networks available for your DFX projects. By default, it includes a configuration for the local network:
{
    "local": {
        "bind": "127.0.0.1:4943",
        "type": "ephemeral",
        "replica": {
            "subnet_type": "application"
        }
    }
}
INFO
This file is automatically managed by the DFX Dashboard, eliminating the need for manual file editing.
Editing Network Configurations
To modify your network configurations:
- Navigate to the Network page in the DFX Dashboard.
- You'll see the current contents of your
networks.jsonfile in the editor. - Make your desired changes directly in the editor.
- The changes are automatically saved.
WARNING
Ensure your JSON is valid before making changes. Invalid JSON can cause issues with DFX functionality.
Defining Custom Networks
Custom networks allow you to deploy different projects to different local networks, supporting various development workflows. Here's how to define them:
In the
networks.jsoneditor on the Network page, add a new network configuration:json{ "network_1": { "bind": "localhost:4943", "replica": { "subnet_type": "application" } }, "network_2": { "bind": "127.0.0.1:4944", "replica": { "subnet_type": "application" } } }Each network should have a unique name (e.g., "network_1", "network_2") and can be configured with different binding addresses and ports.
TIP
Use descriptive names for your custom networks to easily identify their purpose within the Dashboard.
Network Configuration Options
Key components of your network setup include:
bind: Specifies the IP address and port the network binds to (e.g., "127.0.0.1:4943").type: Defines the network type (e.g., "ephemeral" for temporary local networks).replica: Contains subnet configuration details.subnet_type: Specifies the type of subnet (e.g., "application" for standard applications).
TIP
When working on multiple projects, consider using different ports for each to avoid conflicts.
Best Practices
TIP
Optimize your network configuration workflow:
- Regularly review and clean up unused network configurations to keep your setup streamlined.
- Utilize the Dashboard's automatic saving feature to ensure your changes are always up to date.
- Document the purpose of each custom network in your project documentation for better team collaboration.
- Test your custom network configurations thoroughly before using them in production environments.
Troubleshooting
WARNING
Watch out for these common issues:
- If changes to the network configuration don't seem to take effect, try refreshing the DFX Dashboard or restarting the application.
- Ensure there are no port conflicts when defining multiple networks in your configuration.
- If you encounter errors related to network configuration, double-check the JSON syntax in the editor.
- For issues deploying to a custom network, verify that the network name in your project settings matches exactly with the one in your configuration.